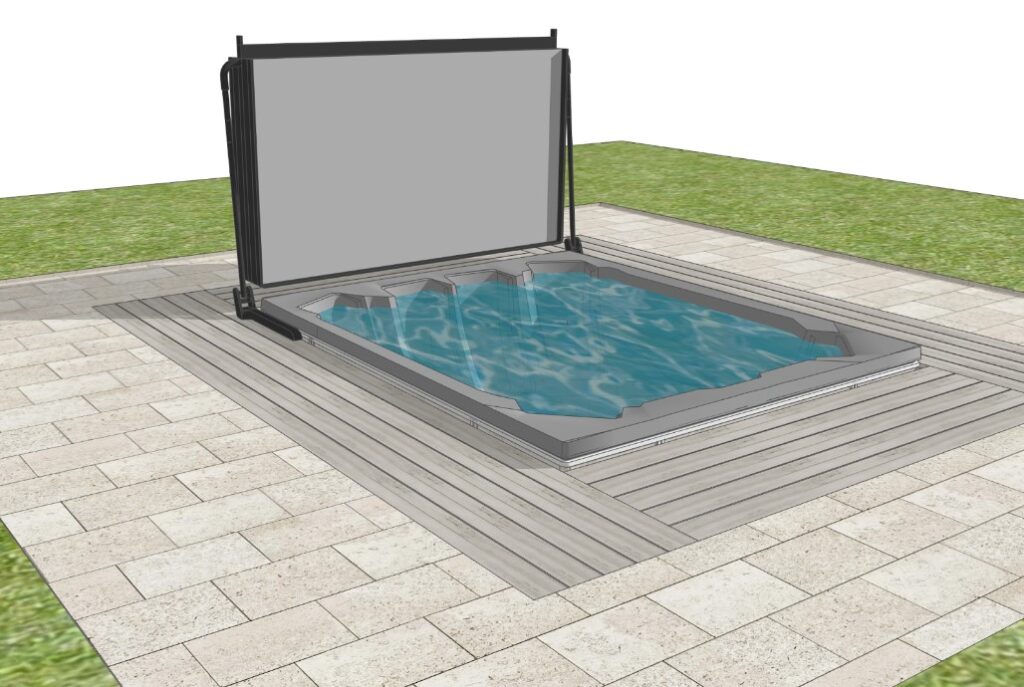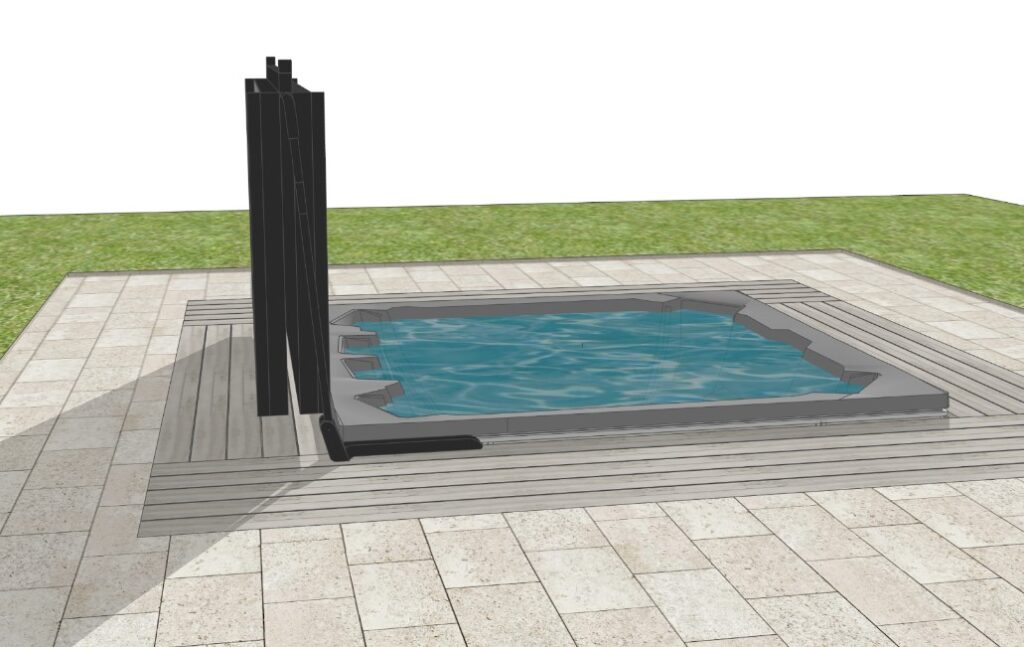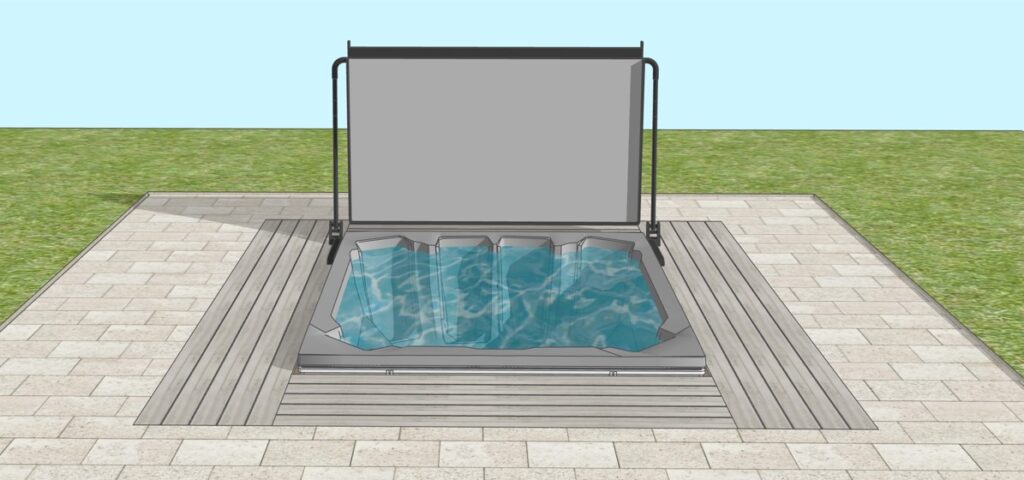
1- Excavate the Area
Select spa site, determine finished elevation and the direction the spa equipment will be facing. Ensure the surrounding surfaces will slope away from the spa.

2- Pour Foundation Walls

3- Rough-in Electrical and Drain Provisions
The conduit should be contained in the equipment access area which is located under the control panel. This is typically considered to be the front side of the spa.

4- Backfill Against the Foundation Walls

5- Pour the Concrete Spa Pad
The concrete slab should be at least 4″ thick.
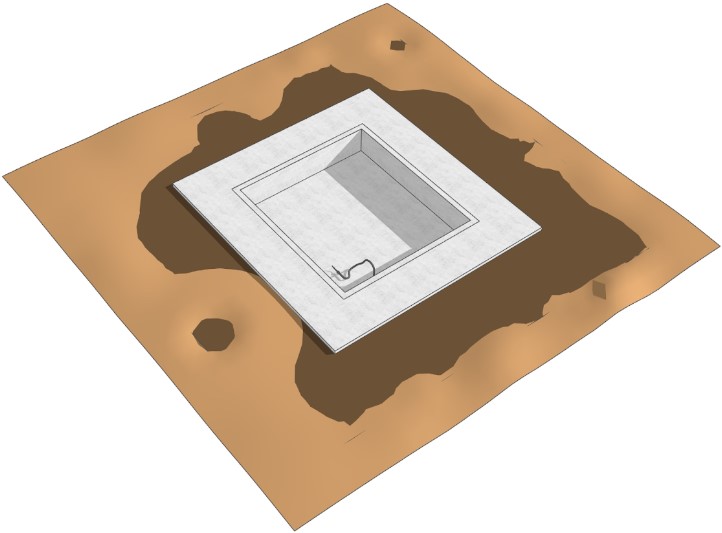
6- Pour the Cement Cap

7- Install the Spa
At this point, you are ready for our crew to install the spa into the vault! Note our schedule typically requires two weeks of notice, so please coordinate this date between your contractors and our scheduling team.

8- Install Removable Decking Framework

8A – Install cleats on all four sides of the foundation walls
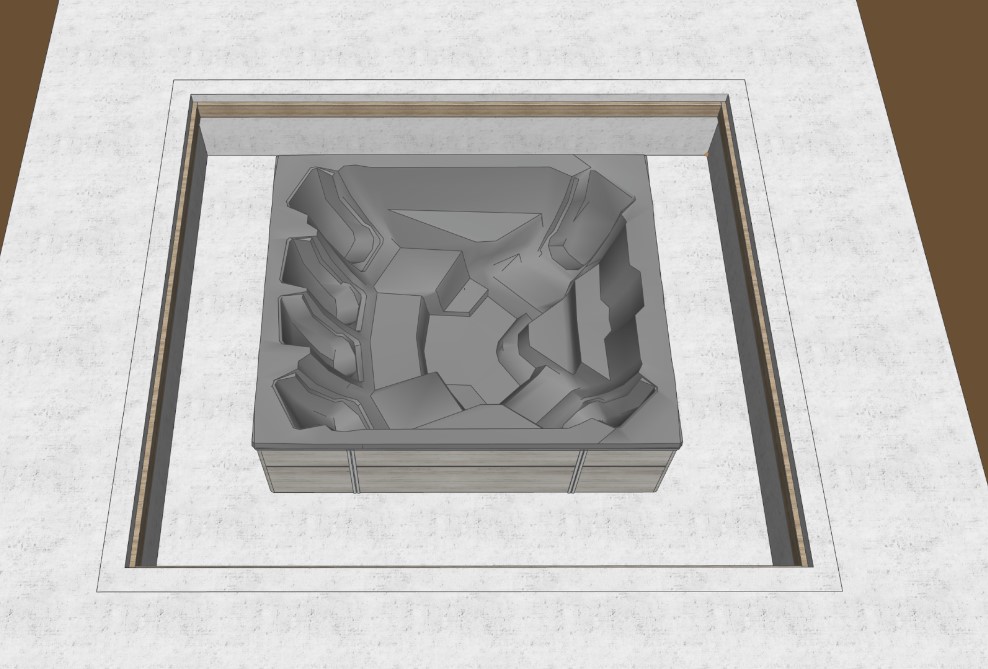
8B- Build removable deck framing to sit on top of the cleats
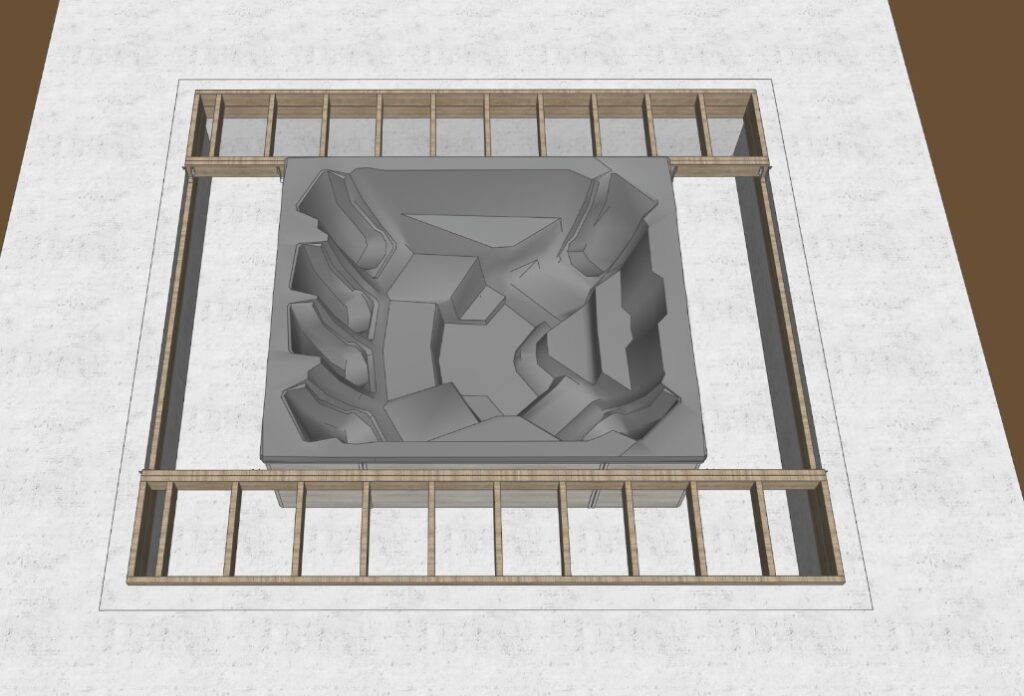
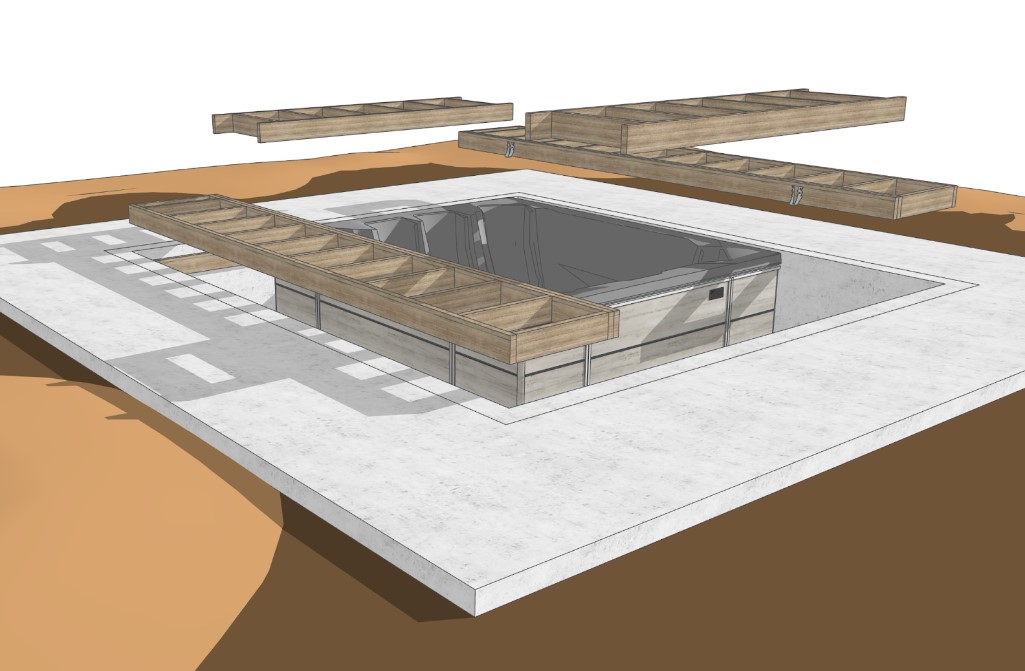
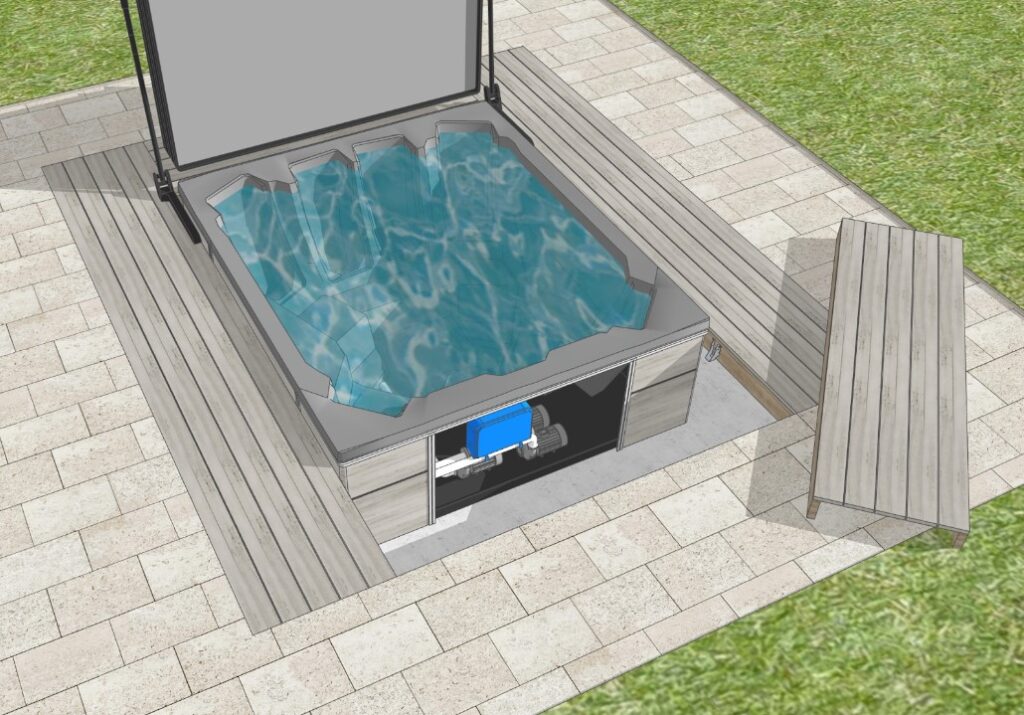
9- Install Decking
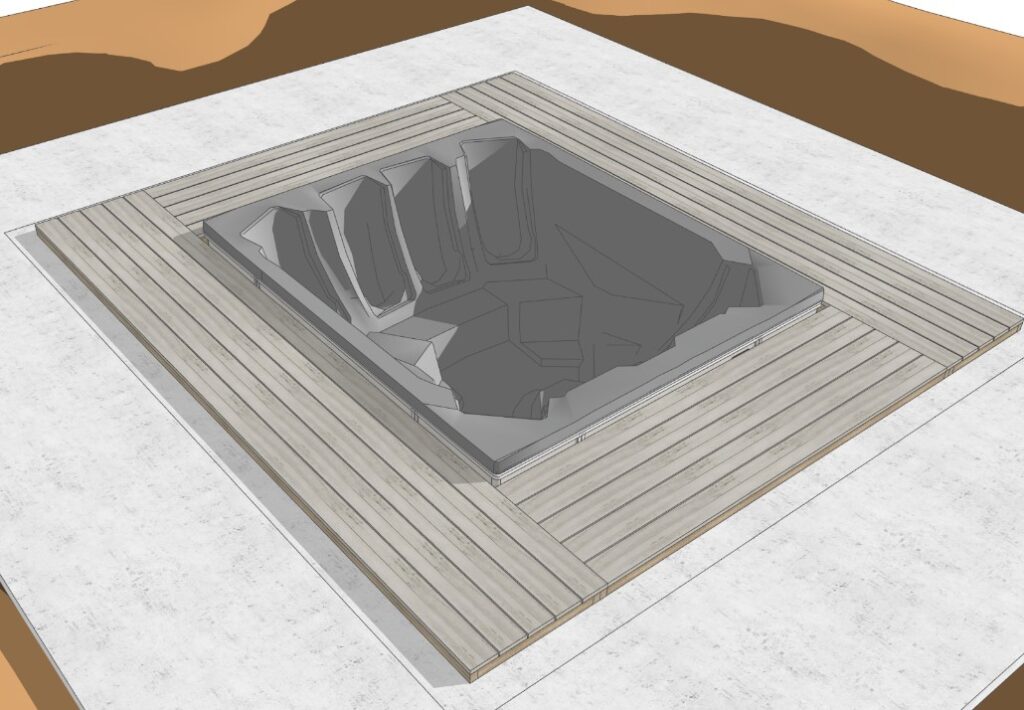
10- Install Landscaping and Finish-Work

11- Install Cover and Cover Lifter to Decking
